
Experimenting with Long Exposure in Black and White Photography
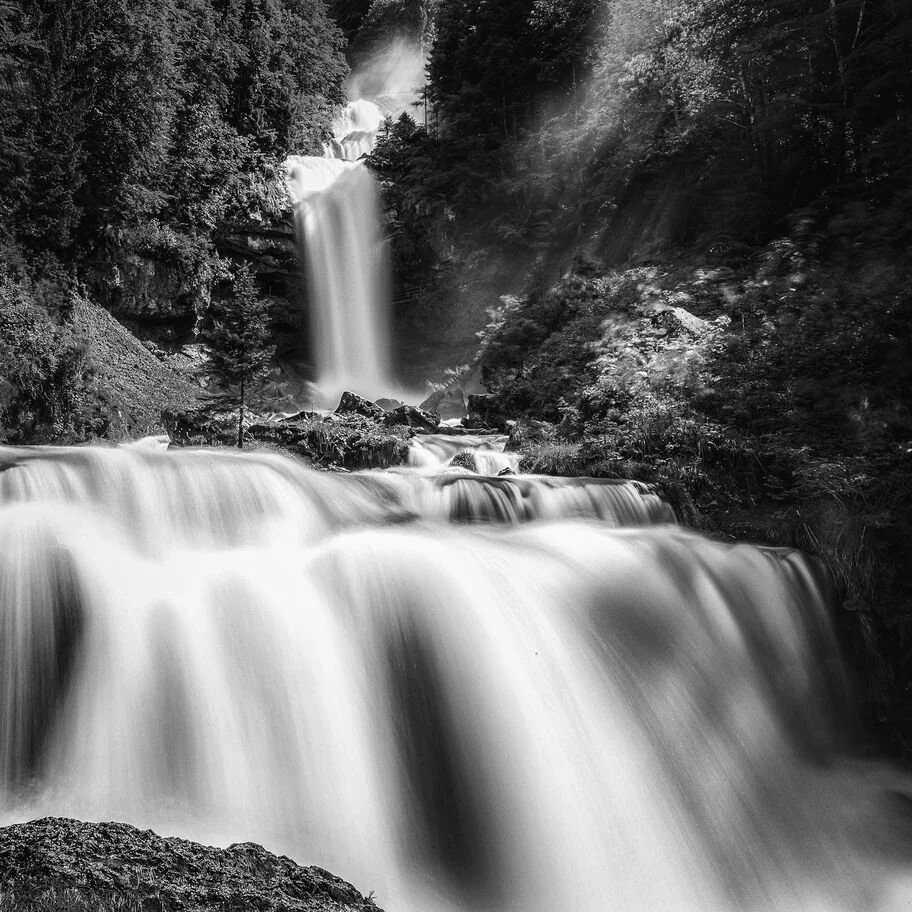
One of the things I enjoy most about long exposure in photography is that it lets you capture a scene in a way our eyes never see it. Instead of freezing a single instant, you're recording everything that happens over an extended period, transforming movement into something smooth, dramatic, and often unpredictable.
While the technique works beautifully in color, I find that long-exposure photography becomes even more striking in black and white. Without color competing for attention, your eye is drawn to contrast, texture, shape, and the flow of light. A simple scene can turn into a powerful long-exposure photograph with just a few adjustments to your camera settings.
What is long exposure photography?
A long exposure is created by keeping a slow shutter speed on your camera to record movement over time. Instead of exposing the camera's sensor for a fraction of a second, the shutter open time might last a few seconds, several minutes, or even longer.
The amount of light entering the camera depends on the exposure triangle: aperture, ISO, and shutter speed. As the exposure time increases, the sensor collects more light, so you'll often need a smaller aperture, low ISO, or neutral density filters to prevent overexposure.
The results are long-exposure images where moving elements become soft and fluid while stationary elements remain crisp.
Why does black and white work so well?
Black and white simplifies a scene.
Instead of relying on vibrant colors, you're emphasizing contrast, textures, shadows, and composition. Flowing water becomes silky. Drifting clouds stretch across the sky. Reflections soften into abstract patterns.
Because color isn't distracting the viewer, leading lines, light, and form become much more important. That's one reason I enjoy using this technique for both landscape photography and urban scenes.
The beauty of slow shutter photography is that it can turn ordinary locations into something almost surreal.
The gear I recommend for long-exposure photography
You don't need an expensive kit to get started, but a few pieces of equipment make a huge difference.
A sturdy tripod is essential to avoid camera shake during longer shutter speeds. Even the slightest movement will reduce image quality.
I also recommend using a remote shutter release or your camera's self-timer. Pressing the shutter button by hand can introduce vibration, especially when shooting exposures lasting several seconds.
For daytime photography, neutral density or ND filters are almost mandatory. These filters reduce the amount of light entering the lens, allowing you to use a long duration shutter speed even in bright daylight.
If your exposure needs to last longer than your camera normally allows, switch to Bulb mode, which lets you keep the shutter open for as long as needed.
Choosing the right shutter speed
Different scenes call for different shutter speeds.
For example:
If you want gentle motion in water, one or two seconds may be enough.
For dramatic flowing water or fast-moving clouds, exposures between 10 and 60 seconds often produce more interesting results.
When photographing traffic, longer exposures create beautiful light trails, while busy intersections can produce impressive car light trails that guide the viewer's eye through the frame.
For star trails, you're working with much longer exposures or multiple exposures combined later in post-processing. If you're photographing a single bright star or the Milky Way instead, you'll usually use a much shorter exposure to avoid visible movement.
Experimenting with exposure times is part of the fun because every scene reacts differently.
Camera settings that work well for long exposure
I usually begin by composing the scene and switching to manual focus before attaching my filters. Once an ND filter is in place, autofocus often struggles.
From there, I choose my exposure settings based on the available light.
A low ISO helps minimize noise, while a smaller aperture provides greater depth of field for landscape photography. After that, I adjust the camera's shutter speed until I reach the effect I'm looking for.
Pay attention to your focal length as well. Longer lenses magnify vibration, making a solid tripod even more important if you want to sharply capture your main subject.
Creative ideas to try
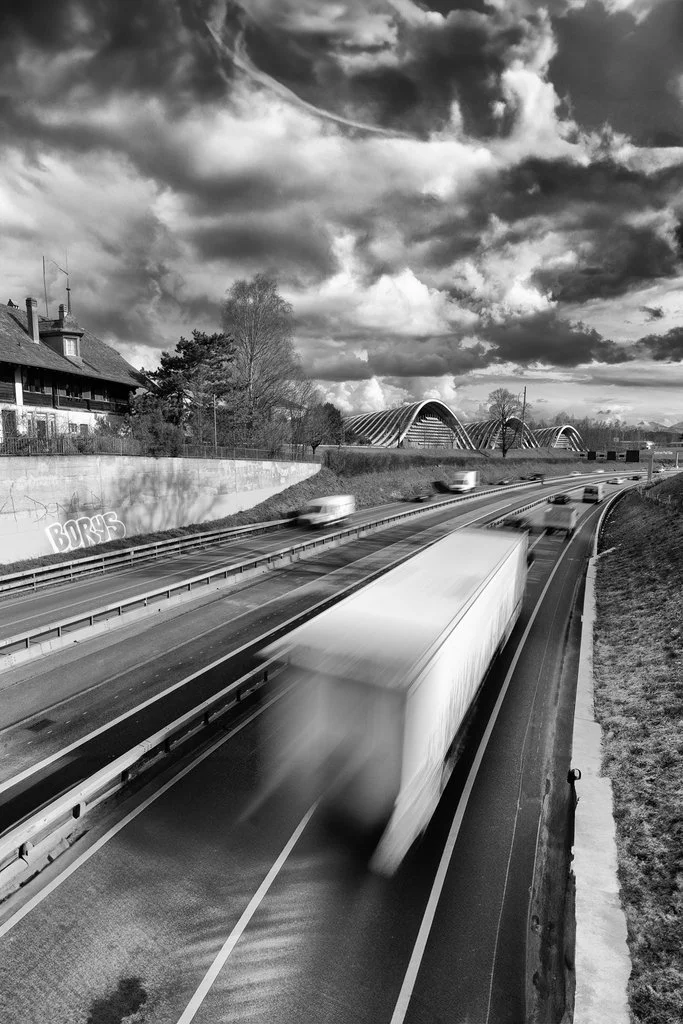
One reason I love this technique is the endless creative possibilities it offers.
For long-exposure landscape photography, use moving water, fog, or clouds to create a sense of calm while keeping rocks, trees, and other stationary objects perfectly sharp.
In cities, photograph moving cars after sunset to create dynamic light trails that weave between buildings.
You can also experiment with light painting, using a flashlight or another light source to selectively illuminate parts of the scene during the exposure. Since everything happens within one frame, you have complete control over where the viewer's attention goes.
Even portrait photography can benefit from a long exposure. Keeping your subject relatively still while allowing surrounding movement to blur creates interesting effects that are difficult to achieve any other way.
Final thoughts
Slow shutter photography means learning how movement, light, and time work together to create photographs that feel completely different from what you saw with your own eyes.
Whether you're photographing night skies, waterfalls, city streets, or quiet landscapes, mastering long exposure techniques opens the door to countless creative effects. The more you practice, the more you'll discover that every location has the potential to become a unique final image.
I'd love to hear from you: What's your favorite subject to photograph with a long exposure, or what's stopping you from trying it for the first time?